Tuesday, November 5, 2013

STAMP IT SISTERS NOVEMBER BLOG HOP


The theme for this month is TAGS. I chose to do Christmas Tags since I knew I would be needing some anyway. I am up first this month, so after you have looked at my Tags please click HERE to go to Caren's blog site, Creating with Caren. I am sure she will have some great Tags posted for us. Or, if you want to go backwards and check out Jessica's creations at Scrap Sprinkle Crop, just click on THIS. But first, please take a look at my Christmas Tags

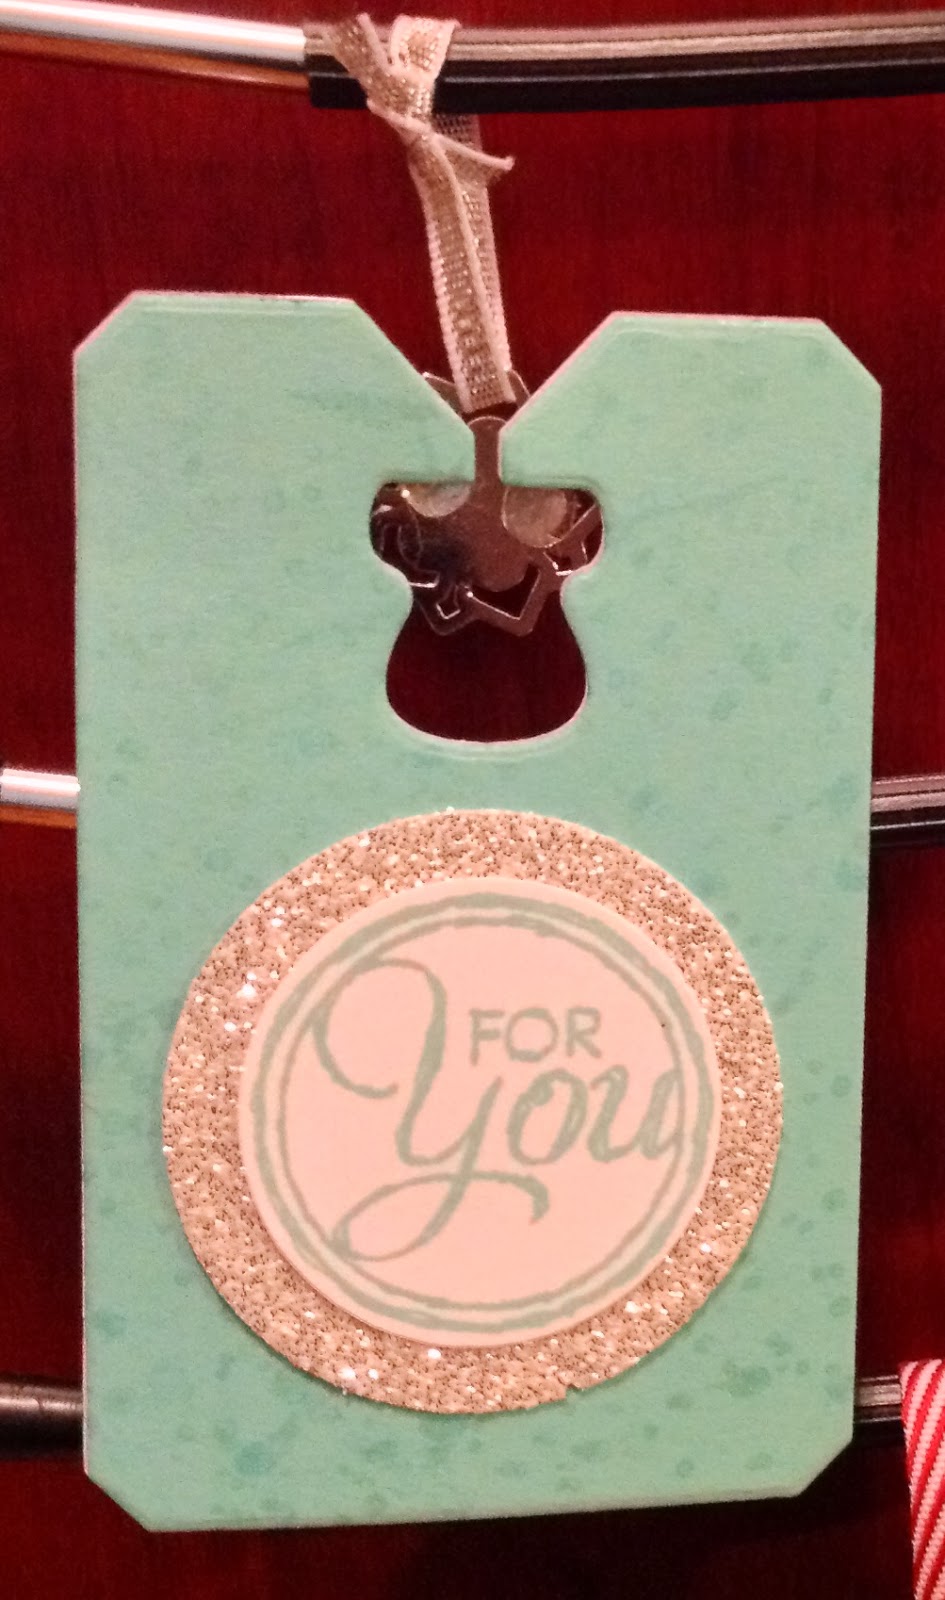
Since they don't tend to stand up by themselves like cards do, I hung them up on a hanger to take pictures. So, the pictures have annoying silver bars in them. I made three tags that are al
l double-sided, using only currently available Stampin Up products. Please e-mail me at ronnapowers@verizon.net if you would like a list of the products I used for a particular Tag or for all three! Happy viewing! (Sorry, for some reason they are a little out of order).


Merry Christmas Front
Merry Christmas Back
Peace on Earth Front
Peace on Earth Back
.

Santa Tag Back


Santa Tag Front


THANKS FOR LOOKING!


Monday, September 9, 2013

Go Stamp It Sisters September Blog Hop


Welcome to the Go Stamp It Sisters September Blog Hop! Hopefully you have arrived here after viewing Caren's banner at Creating With Caren. I know Caren loves Halloween and I love her "BEWARE". If you some how missed Caren's page, click Creating With Caren


My banner was going to be HAPPY something, but after HAPPY, I ran out of room. So, I will do a second banner to put under it for the next occasion; like HAPPY BIRTHDAY, or HAPPY EASTER, or HAPPY MOTHER'S DAY or HAPPY RETIREMENT. So, here is what I ended up with:


I have other pictures, but I just got a new laptop with Windows 8 and I am having a horrible time trying to upload pictures. I will publish this now and work on uploading the rest of the pictures as soon as I can.
  If you are interested in all of the Stamping Up products I used or have any questions, don't hesitate to send me an e-mail. If you are interested in information about the various Banner Kits and the refill kit, I have provided some information below along with a synopsis of what is included in the Kit I used, which was the Build a Banner Simply Created Kit

   
Now to continue Hopping, please click on the link to visit Jessica's creation by clicking Scrap, Sprinkle, Crop  . I think I will Hop over with you as I am excited to see Jessica's Banner myself.  


Before you go, you are welcome to read the information below. Also, check out my previous posts on what I learned as a first time spritzer.  Otherwise, thanks for hopping by and hope to see you next month!


For $19.95 you get stencils for every letter of the alphabet, stripes, polka dots, chevrons and a large circle, along with a packet of twine, a short instruction booklet, 2 Spritzers and 18 canvas pennant pieces.
The pennant pieces are , 6 rounded ends, 6 / \  shapes and 6 \/ shapes.  The pennants have good quality brass grommets, are 5 x 7 inches and a nice heavy weight. One side is coated and the other is not. You want to spritz on the uncoated side, which is the side showing the front of the grommets. The ink will not soak in on the coated side.
You can buy the Halloween or Christmas Accessory Kits, which provide all of the embellishments and bling to decorate your pennants and you can also buy a pennant refill kit (#132699), which includes 18 pennants and 9 feet of jute twine.


:


aa

Spritzing Tips

First, I must confess, that until last week I was a virgin Spritzer. I had purchases Stampin Up spritzers a couple of times with great intentions of using them, but somehow never took that step to open them up and use them. However, after purchasing the Build a Banner Simply Created Kit (133507) and looking at the Banner Kits on pages 4 and 12 of the Stampin Up Holiday Catalog, I realized that Spritzing with templates was a technique I was going to have to master. (More about the Build a Banner Kit later). I am sure there are Spritzing/Stencil tutorials all over the internet, but instead,  I chose the trial and error method. If any of you are like-minded, let me share a few tips with you:

TIP 1 - Make sure your stencil is secured in some manner before you start Spritzing. Depending on what you are attaching the stencil to and how large the stencil is, you can use mini glue dots, removable snail, post-it notes or anything to temporarily adhere the stencil to your paper, canvas, cardboard or other material you might be stenciling.

TIP 2 - If you are going to be using more than one color, go ahead and purchase sufficient Stampin Spritzers. They come in a 2 pack for a very affordable $2.95 (126185) and can be filled with any color of the classic inks.

TIP 3 - Remember the ratio! If you are going to use more than one Spriterful (new word) of the same color, write down the number of drops of ink you used in the water or alcohol.

TIP 4 - Check the color! Spritz on a piece of scrap paper before you Spritz your project. The color you get using 4 drops can be very different than the color you get using 3 drops. Keep checking until you get the color you want. Of course lighter colors will usually require more drops than darker colors, especially if you want bright, vibrant colors.

TIP 5 - Don't worry about perfection! Your lines or dots or whatever you are stenciling may not have crisp edges or lines. Once you had a few strategically placed embellishments you will see that it is the overall effect that counts, not the fact that you had a couple of blurry polka dots.

TIP 6 - Don't forget the Mask! The Mask stencils will cover up the parts of your project that you want to stencil in a different color or that you want to leave "Unspritzed" (another new word).

TIP 7 - Have fun! This is the most important tip of all! Don't worry about mistakes, don't worry if it's "good enough".  As long as you are having fun, it's beautiful!

My next post will include the Banner I made from the Banner Kit. Please check back or sign up to subscribe to my Blog so you don't miss it!

Monday, August 5, 2013

Another Halloween Blog Hop Post

I told you that this was my first attempt at the Blog Hop, so  I appreciate your patience! I just figured out how to add the "gidgit" showing you that you had reached the right place and that this blog is part of the Go Stamp It Sisters August Blog Hop! I also found out that I had maybe posted the link to the next spot on the Hop incorrectly and didn't post the link to the previous stop at all! My apologies to Caren and Denise! I want to make sure you see their great posts so I will give this another try! Since I have added this new post, you will have to look at my previous two posts to see the card and treat bag that I created. I am posting the links to Caren and Denise's posts below. Thanks, all!

Click here to go back to the previous Hop stop:  Creating with Caren

Click here to go on to the next Hop stop: Go Stamp It


Sunday, August 4, 2013

August Blog Hop Featuring Halloween using items from Stampin Up's new Holiday Catalogue

Welcome! This is my first time to participate in the Blog Hop coordinated by Denise Sullivan from Stampin Up. If you are following the Hop protocol, you have just left Creating with Caren by Caren Curtis. Caren is such a wonderful mentor to me and always has terrific ideas! I can't wait myself to see what she and the other Hop participants have come up with for Halloween!
Posted below is a Halloween Treat Bag that I created using a small brown paper bag (like a lunch bag).

It's hard to see from the picture, but I first ran the bag through the Big Shot using the Chevron embossing folder (127749 in the current Annual Catalogue) so that the back of the bag would have some texture. I patted the front of the bag with Versa Mark and sprinkled it with Heat and Stick Powder (100625 in the Current Annual Catalogue) and then sprinkled Orange Stampin Glitter (132206 in the Holiday Catalogue). Don't forget to heat set the Glitter! I have used orange glitter in the past, but the new  Orange Stampin Glitter has a deep rich color that you just have to see for yourself! I cut "Monster Munchies" out of a sheet of the Witches Brew DSP (132185 in the Holiday Catalogue) and adhered it with one of the 3/8" Glimmer Brads (121003 in the current Annual Catalogue). Out of the same DSP, I cut a strip of Orange Chevron and adhered it to the bottom of the bag. I then used one of the scalloped punches to punch out the black fold over top. Use a size appropriate to the size of the bag you are using. Another idea would be to use any of the Frame Lits that you like, such as the Labels collection. This gives you an assortment of sizes to choose from. Once the fold over top is attached, use one of the Antique Brads (117273 in the current Annual Catalogue) to decorate it. You can add a bit of Velcro to keep the bag secured if the top does not want to stay down. The last thing I did was to use the rectangular Frame Lit from the Chalk Talk set (129983 in the current Annual Catalogue) to cut out the perfect size cardstock piece to stamp the Skeleton from the Toil and Trouble stamp set (131727 Clear or 131724 Wood in the Holiday Catalogue). To make him stand out a bit with all of that Orange Glitter, I embossed him with the Stampin Up's Pewter embossing powder (124114 in the current Annual Catalogue) and then attached him by using a big of black wire and wrapping it around the Antique Brad after inserting it through the top of the cardstock.
Please look at my previous post to see the Halloween Card I designed using items from Stampin Up's new Holiday Catalogue. Once you have viewed my Halloween Card, please click on the link below to Hop to Denise's Blogsite "GoStampIt". I am sure she will have something "Spooktacular" for her Halloween contribution. http://www.gostampit.blogspot.com
Please let me know if you have any hopping problems. Also, please feel free to leave a comment on either the Halloween Treat Bag or the Halloween Card! Thanks for hopping by!


Monday, July 29, 2013

Halloween is just around the corner!

It's almost August! Summer is quickly passing and since I am trying to change my procrastinating ways, I am already looking ahead to Halloween. Halloween is great excuse to play with paper I decided to go ahead and get a head start yesterday, by trying out some new Stampin Up Halloween items from the Holiday Catalogue. First is a simple card.  
 
For this card, I used the new Witches' Brew DSP (132185) ; even for the word "OPEN" which I cut out of the sheets. I also used some of the new Halloween Washi Tape (132156 comes with three different Washi Tape designs) and Black Glitter (132206 - Comes with both orange and black in a set) on the Raven. The Raven is in the Toil and Trouble Stamp Set  (Wood 131724 or Clear 131727). This was the first time I had used Stampin Up's Heat and Stick Powder to adhere the glitter and it worked like a charm! Once it set, there was no loose glitter and no mess. To complete the front, I used one of the circle punches to make a moon behind the Raven (Sorry! I don't remember the size!) and added two black Glimmer Brads (Basics 121003 in the current Annual Catalogue) and one of the Deco Labels Collection Frame Lits  (130102 also in the current Annual Catalogue).

For the inside of the card (see above), I punched two flowers (Blossom Punch 125603 in current Annual Catalogue) using two different pieces of the Witches' Brew DSP and cut a strip for the flower stem. I added a few slits with my Snips to the flowers and scrunched them a bit for dimension. Then I punched a couple of wings from the Bird Builder Punch (117191 in the current Annual Catalogue) to used for leaves.
My next post will be a Halloween Treat Bag! After all, what is Halloween without the Treats? Well, Tricks of course, but I would rather have Treats!

Saturday, July 6, 2013

Welcome to Ronna's Paper Place!

Welome! I am Ronna Powers, a Stampin Up Demonstrator and long-time paper crafter. From Scrapbooks to Cards and from paper decorations and more, I love the feel and texture of "paper". If you are currently in love with paper or whether or not you just read the paper, I hope you will find some ideas here to inspire you. Check back soon.